7 Select Directory
The Select Directory feature allows users to choose a folder on their computer for specific purposes, such as setting a cache directory. This guide explains how to use the directory selector efficiently.
7.1 Steps to Use the Select Directory Feature
7.1.1 Open the Directory Selector
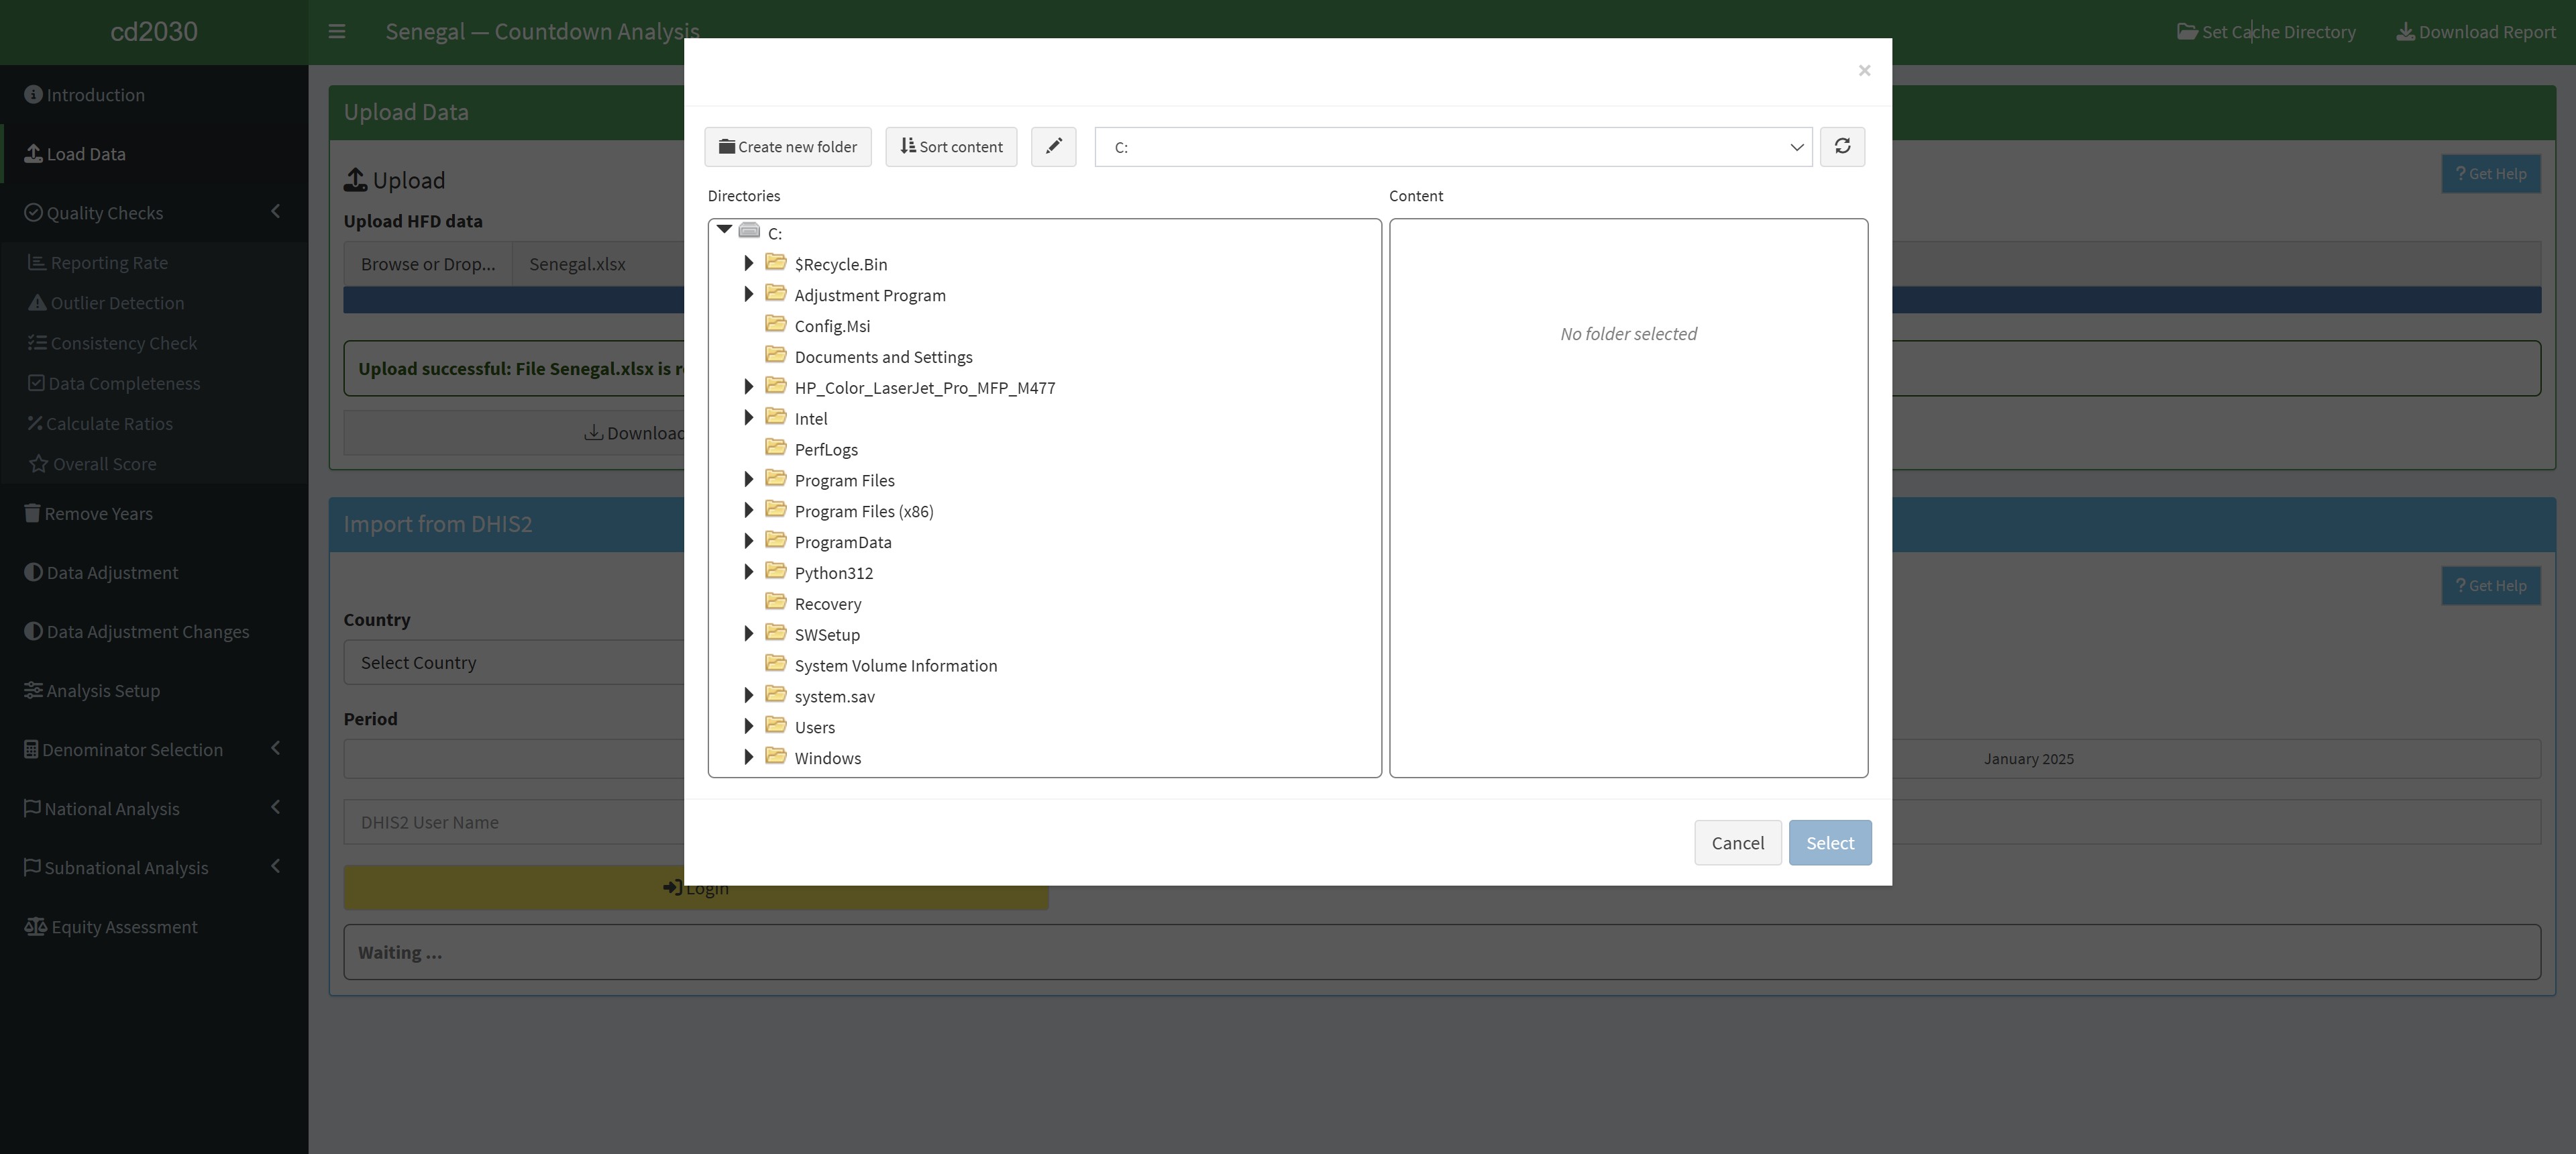
- Click the button labelled “Set Cache Directory” or any other action that opens the directory selector.
- A window will appear, allowing you to browse your computer’s file system.
7.1.2 Select a Drive (if needed)
- Use the top-right drop-down menu labelled with the current drive (e.g.,
C:) to select a different drive. - Click the drop-down arrow and choose the drive where the desired folder is located.
7.1.4 Sort Content (Optional)
- Use the “Sort Content” button to organize the folders alphabetically or by other criteria, if available.
7.1.5 Select a Folder
- Click on the desired folder to highlight it.
- Click the “Select” button at the bottom-right corner of the window to confirm your choice.
7.1.6 Verify Your Selection
- Once the folder is selected, the application will confirm the operation with a message (e.g., “Cache directory set successfully”).
7.2 Best Practices
- Ensure Folder Permissions:
- Make sure the folder has the appropriate read/write permissions for the application to access or save files.
- Use a Dedicated Folder:
- Create and use a specific folder (e.g., “Cache” or “App Data”) to keep files organized and prevent mixing unrelated data.
- Avoid System Folders:
- Refrain from selecting critical system directories (e.g.,
C:/Windows) to avoid accidental changes to sensitive files.
- Refrain from selecting critical system directories (e.g.,
7.3 Common Use Cases
7.3.1 Setting a Cache Directory
- Store temporary files generated by the application to enhance performance by reusing cached data.